
Robots... If you haven't seen it, see it. No need to bring a kid along.
So my kid has a bike and I have a desire to keep my back in fair order for the next few years. The problem is that, if I really want to help him pedal the bike that's just a little bit too big for him, I need to bend over. The WHOLE TIME. Sorry buddy, that just isn't going to happen. Instead, I need a stick that can be used to just push you around. I went ontoTarget's website and found, well, nothing that I needed. I'm sure it exists, but I don't have time to search and just so happen to have a printer. Challenge accepted.
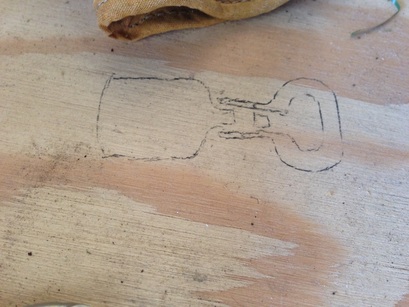
My mommy says I'm a great artist. Don't judge me.
First order of business was to draw it out on my workbench (you see, the whole paperless garage isn't really the best mantra to live by). From there, I needed to measure the dimensions of the seat handle that I need to clamp onto. Knowing that it was ~3cm in diameter, I jumped into Google Sketchup and designed something that I thought would work.
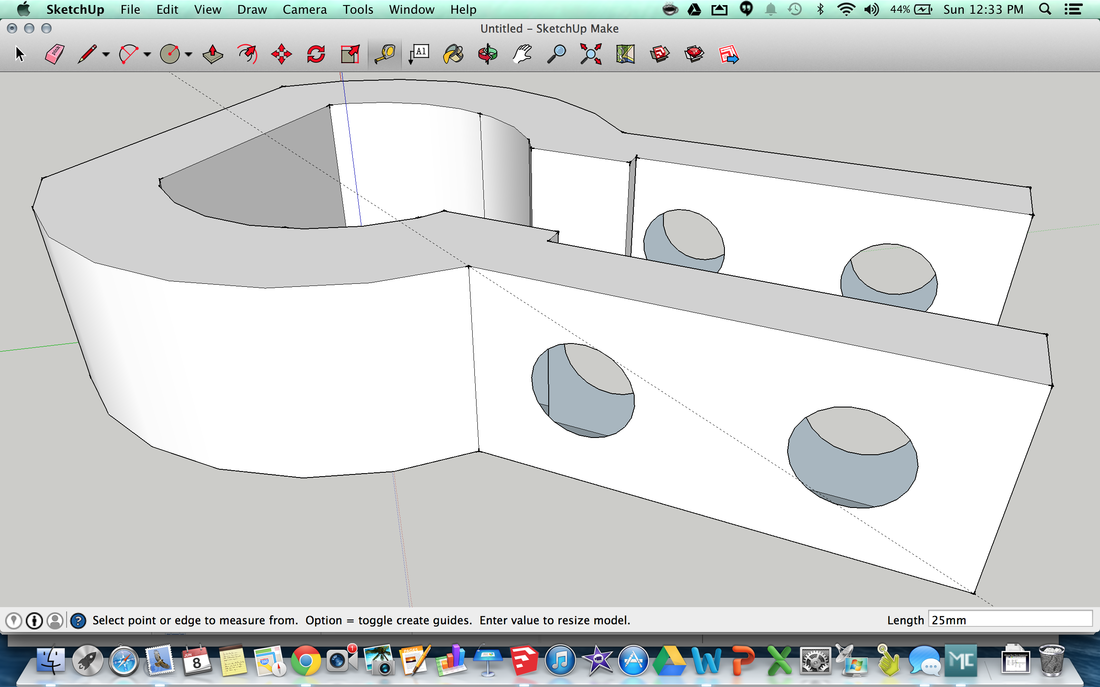
This is actually what I had in my head... Shocking that it turned out like this on the computer. Maybe I'm starting to get the hang of it? Beginner's luck?
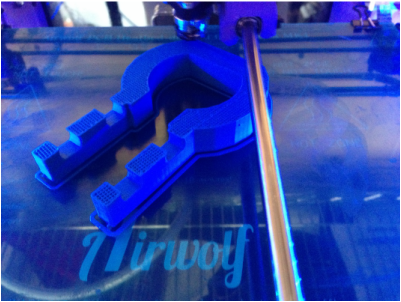
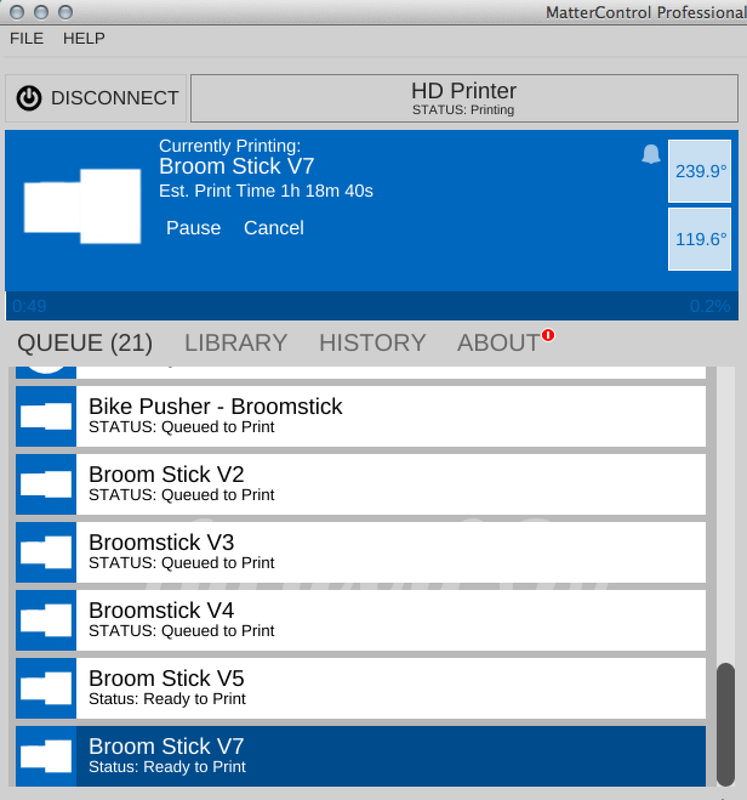
Next up is the printing time. In three, no wait, four hours, I'm going to see a finished clamp that will go onto the back of his bike. In the first slot, there will be a bolt to keep the clamp from traveling too far. In the second slot, there will be another printed piece that will attach the broomstick that I'll use to push the bike around.
While this piece prints, I'm creating the spacer to go into the near side by the clamp and the end that will attach to the broom. The fun part of all of this is that I don't know if it's going to work. The scary part of all of this is I have no idea if it's going to work.
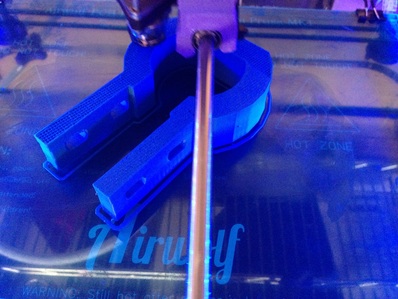
During the printing process, I'm realizing that the holes for the bolts are too big, watching the printer struggle to make round holes that size in the middle of a print. For future reference, I'll be modifying this to adapt to smaller bolts. I wanted them to be big so that there would be a strong connection, but the ABS material is solid itself, making the need for reinforced bolt sizes a bit irrelevant.
Also, there is a little bit too much "curling", when the plastic peels up off of the glass. Dang it John, stop being so cheap with the glue!!!! Nobody said that this was going to be a simple learning process, so fortunately I have a low stress environment in which I can just tinker and learn. Wait- wouldn't it be nice if students had the opportunity to do the same? Nah, this is totally different than a classroom setting.......
While this piece prints, I'm creating the spacer to go into the near side by the clamp and the end that will attach to the broom. The fun part of all of this is that I don't know if it's going to work. The scary part of all of this is I have no idea if it's going to work.
During the printing process, I'm realizing that the holes for the bolts are too big, watching the printer struggle to make round holes that size in the middle of a print. For future reference, I'll be modifying this to adapt to smaller bolts. I wanted them to be big so that there would be a strong connection, but the ABS material is solid itself, making the need for reinforced bolt sizes a bit irrelevant.
Also, there is a little bit too much "curling", when the plastic peels up off of the glass. Dang it John, stop being so cheap with the glue!!!! Nobody said that this was going to be a simple learning process, so fortunately I have a low stress environment in which I can just tinker and learn. Wait- wouldn't it be nice if students had the opportunity to do the same? Nah, this is totally different than a classroom setting.......
The spacer printed out, but it's boring to talk about. I'm moving on to the reason my beard is growing grey hairs at the moment.
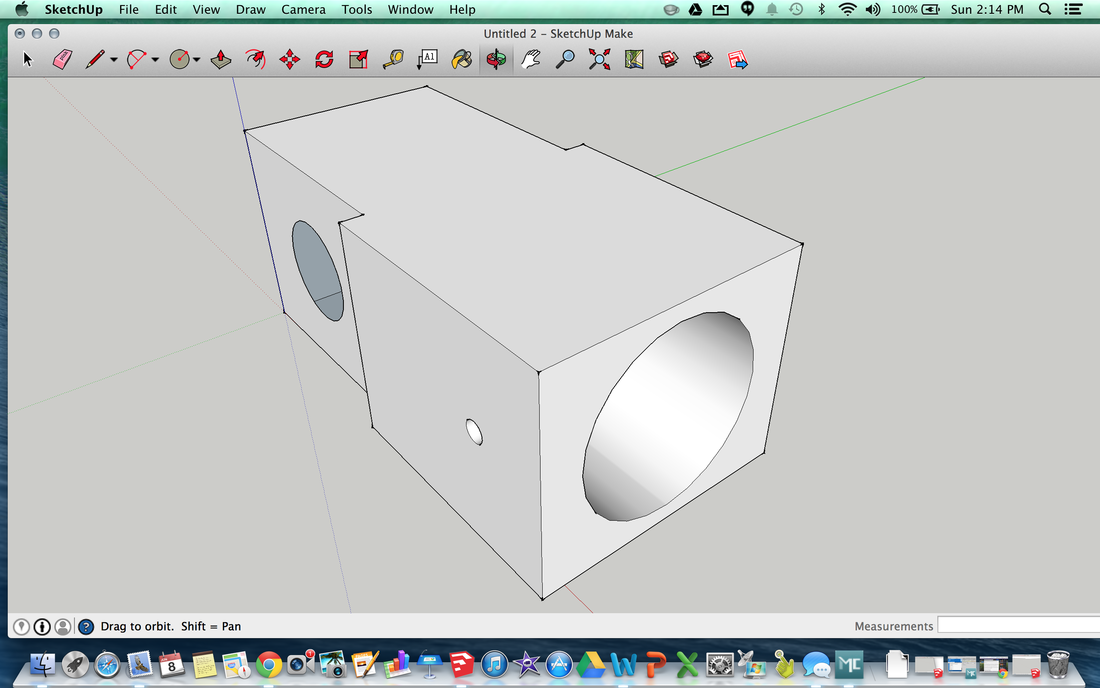
Either way, this is the picture of the piece that will connect to the broom and the clamp's end. As long as all holes are the same level of error, there shouldn't be an issue. There is a hole for the broomstick that I'm planning to use, although it's a little bit wider in case I end up using something different. To keep the broomstick in place without drilling into the plastic, I've included a small screw hole that should suffice. It won't be perfect, but hopefully it's just enough to make this possible without compromising strength.
As the piece is printing, I'm actually pretty happy with it. It's flat on the top and bottom and has some play along the sides, which will allow for adjustment and wiggle. This is turning out to be pretty daggum cool.
6/8/14 (7:29 pm)
Update: I'm stuck. For some reason, the code for the model is skipping about a dozen layers, creating a pile of filament and not printing the middle portion of the piece. I've gone back, filled gaps, tried a few different renderings, but it isn't working for me. If you know anything about Google Sketchup and 3D modeling, I would really appreciate a hand. Click here to access the file I'm working on. I've given up for the evening, but will come back to face my demons tomorrow.
6/9/2014 (9:25 pm and counting)
Update 2: I'm (maybe) unstuck. Thanks to a kind fella on the Twitters who knows a thing or two about Sketchup, I've gone back and repaired my non-solid solid figure. Yeah, oops. Ever been that kid who forgot to do that important step to solving the problem because you already knew the answer? Meh, me neither...
The reason that each piece is being printed out separately is because of the travel time it would take to print all pieces out if they were on the same print. If you think about it, the Airwolf prints one later at a time, so it would be traveling between each piece every time a layer shifts. YUCK.
@Jstevens009 Hey John, your model isn't "Solid". For more on 3D Printing Sketchup models, see this article: http://t.co/mKhpmjQAUF
— Marcus Ritland (@Denali3DDesign) June 10, 2014
Allow yourself to be a beginner. No one starts off being excellent.
— Motivational Quotes (@DavidRoads) June 8, 2014
As you can tell below, this has required a lot of persistence and patience...
just Just JUST WORK ALREADY!!!
I'll need to keep that in mind as I go through this. So, below are the printed products laid out (well, they would be there, but my problem mentioned above prohibits this portion from being true. Once I get it done, I'll put the pictures into the post). If I do this again, I'll make the diameter of the clamp a little bit smaller to make for a more snug fit and probably not make it so thick. The reasons for both of these are just to ensure that it would fit and be strong enough for me to push my little guy around on his bike. Now it's time to go test it out!
In reflection, this would be a great lesson for kids to recreate. By default, I was measuring, drawing, relating back to my sketches and math, making modifications, accounting for flexibility, a small margin of error, and modeling a ton. Hey - that's what Common Corgi wants us to do! Not only that, but I made multiple modifications to the design and regenerating the design and seeing that something wasn't right. I reached out for help, consulted with others, and persisted in the problem solving process. This is far from a perfect design, but it's something that I wish all kids would have a chance to experience, seeing their final product actually get printed for them to be proud of.
If you have recommendations to modify the design, or would like one of your ideas come to fruition, please let me know in the comments or find me on Twitter. Thank you!
Happy Dumbfounded/Confused Fishing
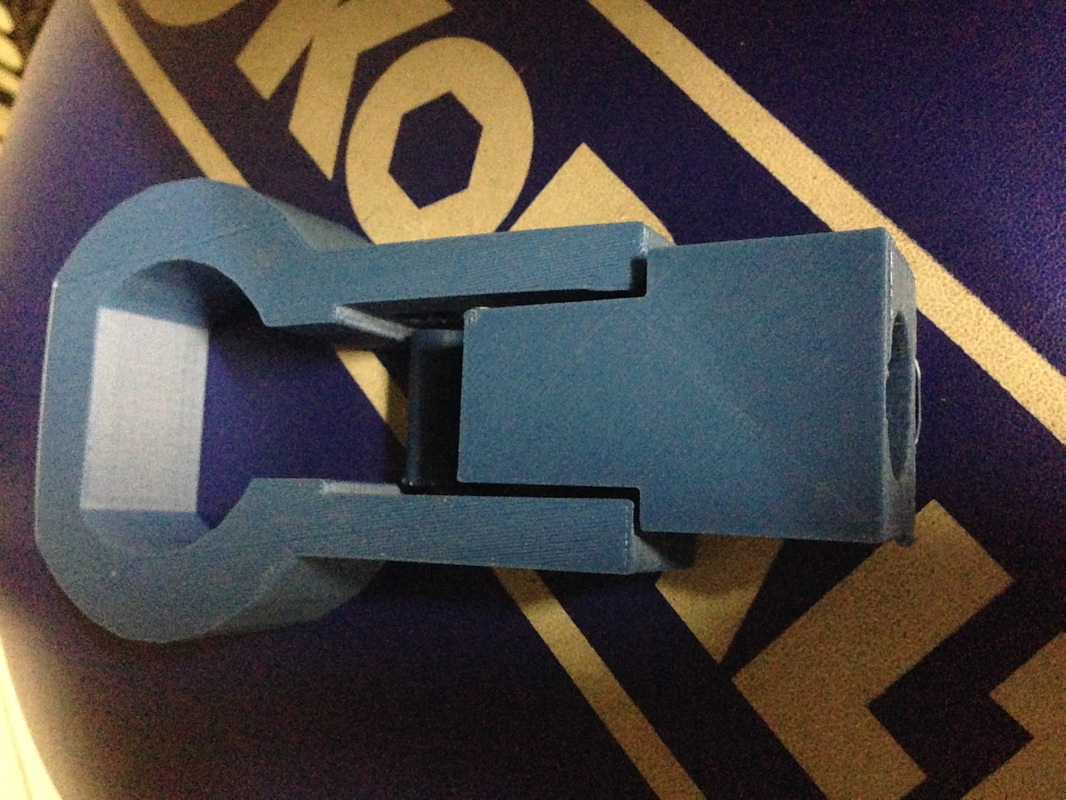
It worked! It worked! Holy crap... It finally worked.
 RSS Feed